
This baby craft is an oldie but a goodie. I first made this when I was pregnant with my now three year old (wow how time flies!) and I thought it was time for a new set. It's a simple little project and makes a great personal gift... The diaper clutch and covered wipes case.

The wipes case is really easy to cover. I actually had a tutorial on my blog but thanks to Flickr all the images got messed up. For a good tutorial on how to do it you can click HERE.

I wanted to do something different for the diaper clutch. This is a great way to learn how to sew zippered pouches if you have never done it. It's easier than you think. You check out the tutorial HERE or click on the picture below for the basic tutorial.

Here is how I made the ruffled one. As always be sure to read through the tutorial once before actually starting.
You cut two long strips of fabric and one shorter piece [this one you will set aside for later]. I wish I took down the measurements but I didn't... Sorry! Ruffle each strip. Iron it down.

You will want to sew the ruffles down on both sides to make it easier to assemble.
You cut two long strips of fabric and one shorter piece [this one you will set aside for later]. I wish I took down the measurements but I didn't... Sorry! Ruffle each strip. Iron it down.
You will want to sew the ruffles down on both sides to make it easier to assemble.

Now sew all three pieces together [this picture shows the front of the clutch already trimmed].

Sew on lightweight interfacing to give the clutch body then trim [the above picture shows how it looks afterwards]. In some clutches I used batting and that is fine if you are quilting but I found it to be too bulky.

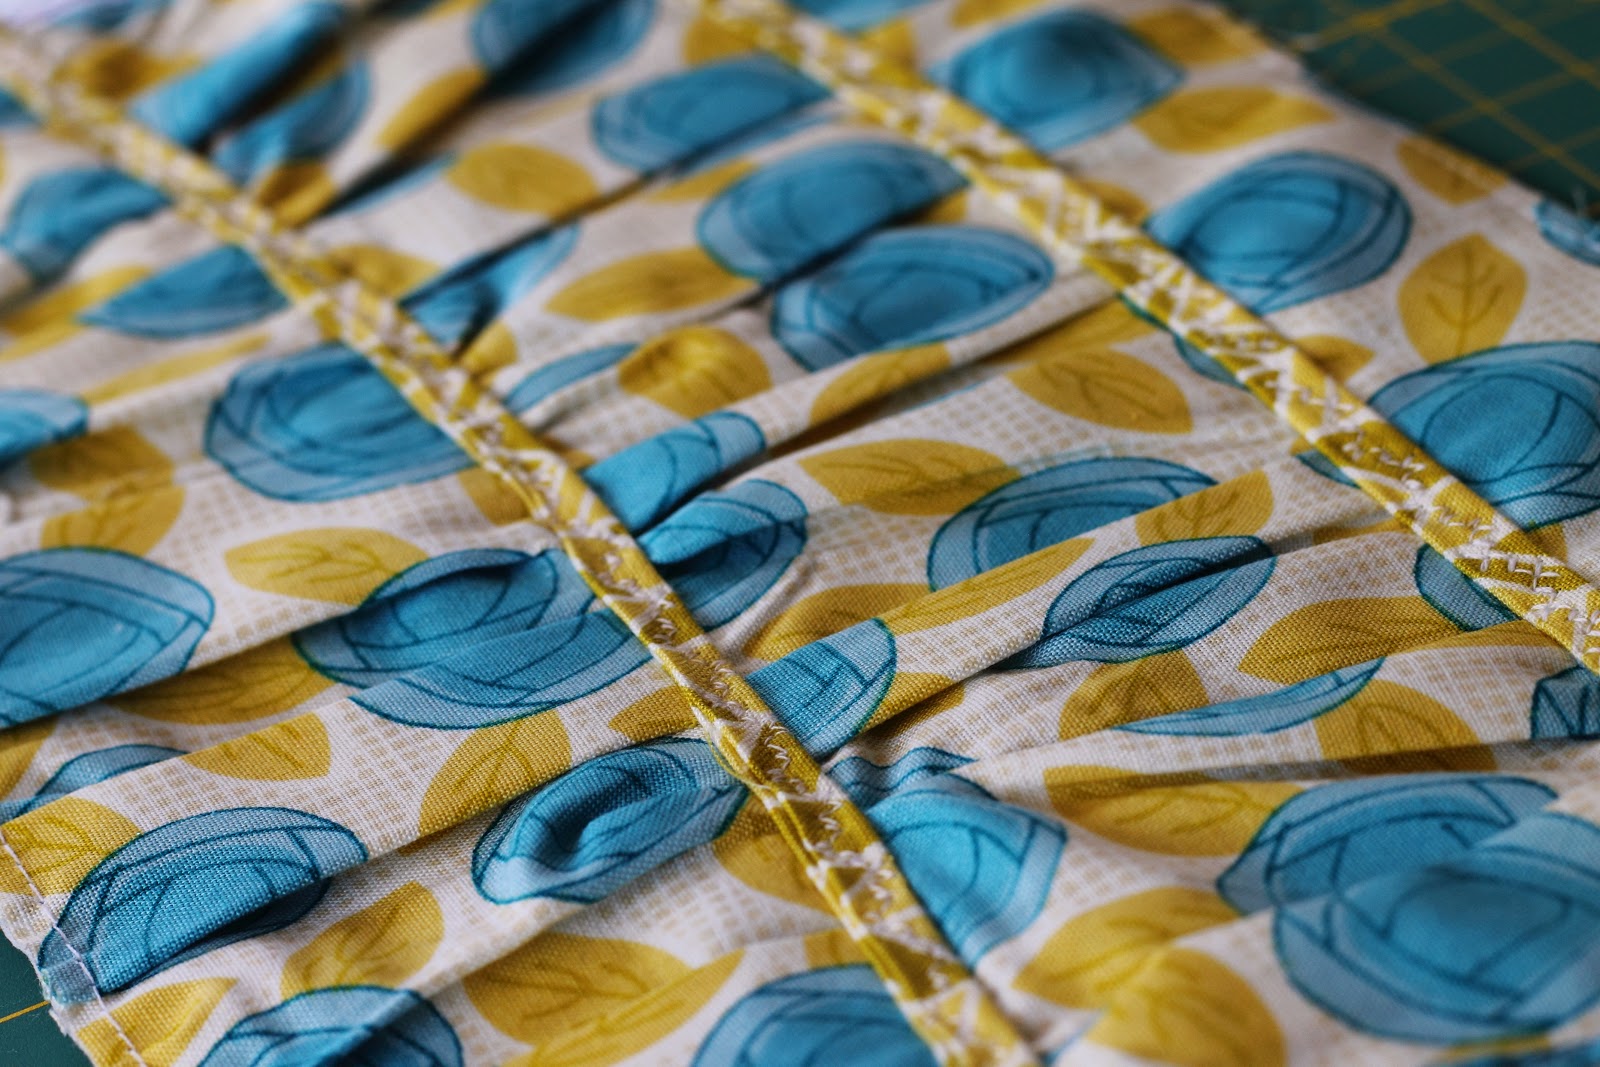
I covered where they were linked together with thin bias tape. It's not all that even but oh we'll good enough for me.
Sew on lightweight interfacing to give the clutch body then trim [the above picture shows how it looks afterwards]. In some clutches I used batting and that is fine if you are quilting but I found it to be too bulky.
I covered where they were linked together with thin bias tape. It's not all that even but oh we'll good enough for me.
From here, assemble using the zippered pouch tutorial.

In no time you will be ready to change those diapers wherever you go!
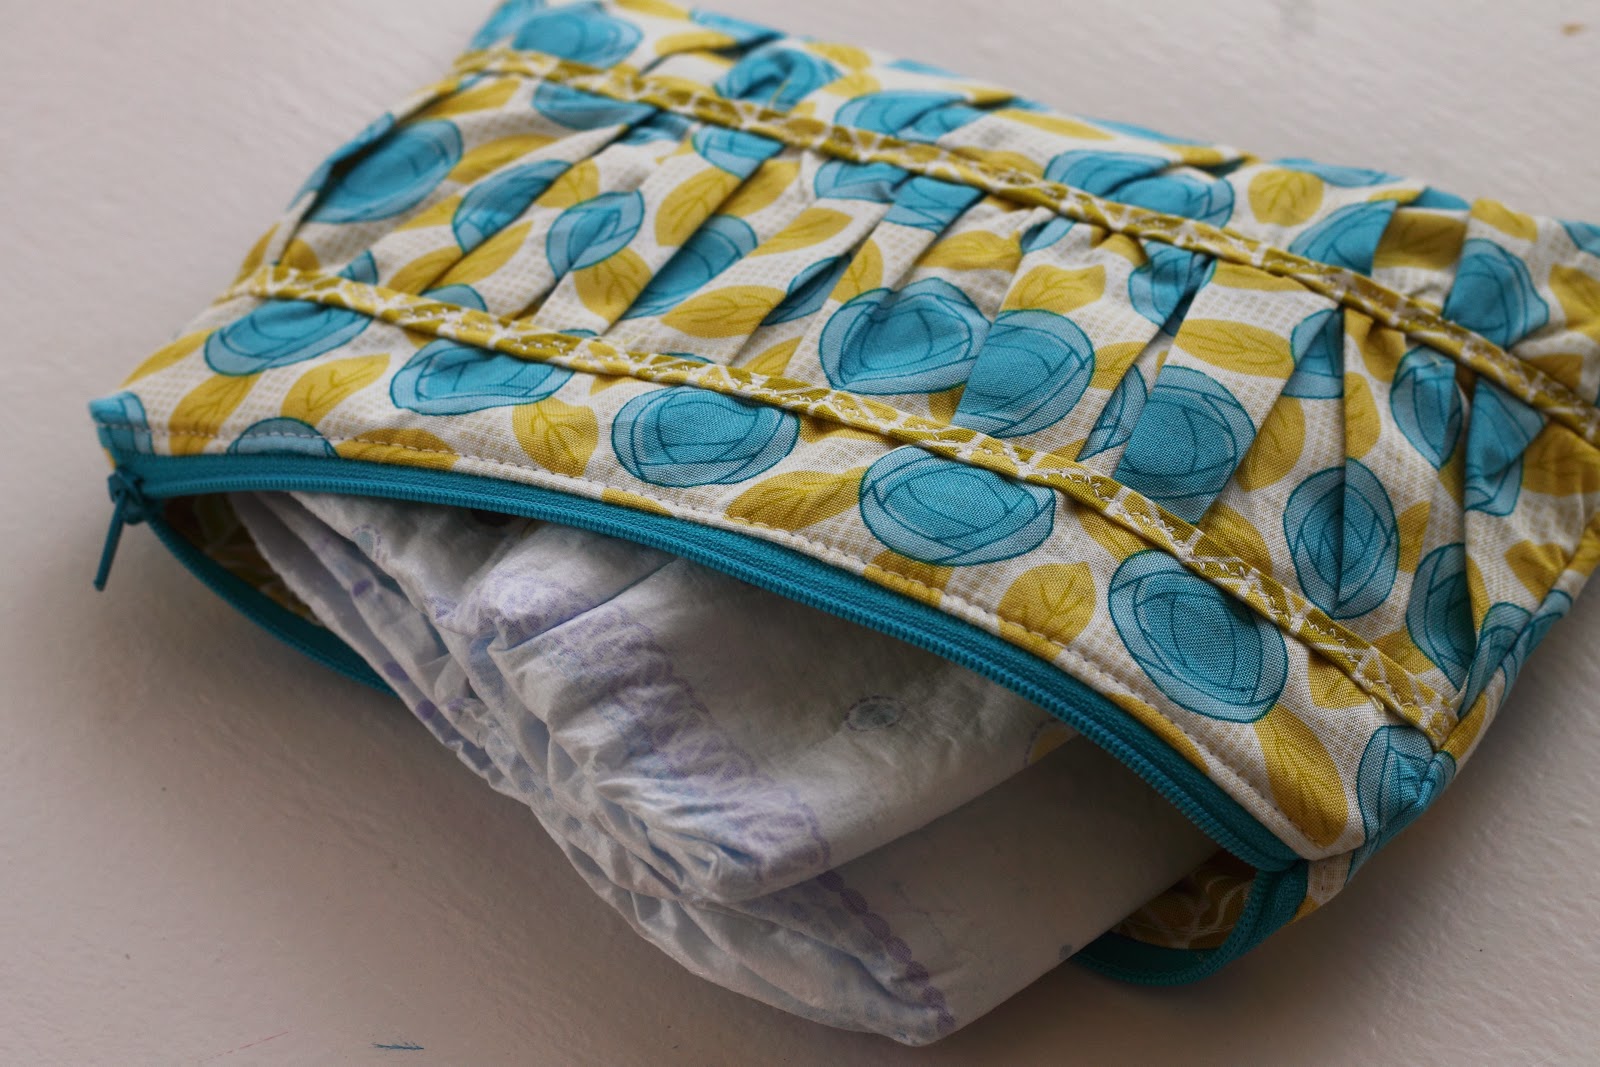
In no time you will be ready to change those diapers wherever you go!
Until next time. Toodles!


No comments:
Post a Comment
Please leave your email so I can repsond to your comment.