
I'm addicted to strip quilts. I was hooked after the first one. I usually don't take orders but when my friend asked if I would make her one I didn't even hesitate. I love strip quilts. They are easy to make and no matter how you arrange the prints it is guaranteed to be beautiful. I always go back to THIS mini tutorial about strip quilts because she gives a lot of great tips. 
So to start she picked out five prints though you can do as many as you would like. I can only order by the half yard so any more prints would just get too expensive. These gorgeous prints are from Riley Blake's Indie Chic Collectoin purchased on fabric.com of course. 1/2 each of the design on the front, 2 yards for the back, and a half a yard for the trim.
Once the fabrics are washed and iron it's time to cut. I have not invested in a cutting mat yet so I use this trick for now. I fold the fabric over twice, iron on a big piece of freezer paper on top, measure out the strips, and cut. It takes more time than a mat but it works fine for now.

I cut each print in different lengths ranging from two inches to five inches. You can of course go a little smaller or do sizes in between. It's up to you!

Once everything was cut, I laid them out on the floor and started arranging. Random but so pretty.

I stack them up from and start sewing the pieces together. Now in the other mini tutorial she says to sew two pieces together, then another two. Then put them together to make four. Repeat. This helps to keep the quilt from getting too warped and she is right. I definitely use that tip when sewing it together.

I failed to take a picture of the front sewn together. Once it is, put the top, batting, and back together and start quilting. This is my favorite part because it is almost done! I'm lazy and because this quilt was only a crib sized I didn't baste it. When you sew, start in the middle of the quilt and work your way to one end. Then go back to the middle again working your way to the other end. I quilt 1/4 of an inch away from where the two ends meet. I hope that makes sense.

Now again I forgot to trim as I was attaching pieces together so I had to do it once the quilt was already quilted. It's easiest to trim as you sew each section on. What a pain to measure out this big honky quilt to make sure it was even. Don't make that mistake.

Then I cut strips and made some bias tape. If you don't know what bias tape is or how to ma
ke it Dana has an amazing tutorial.

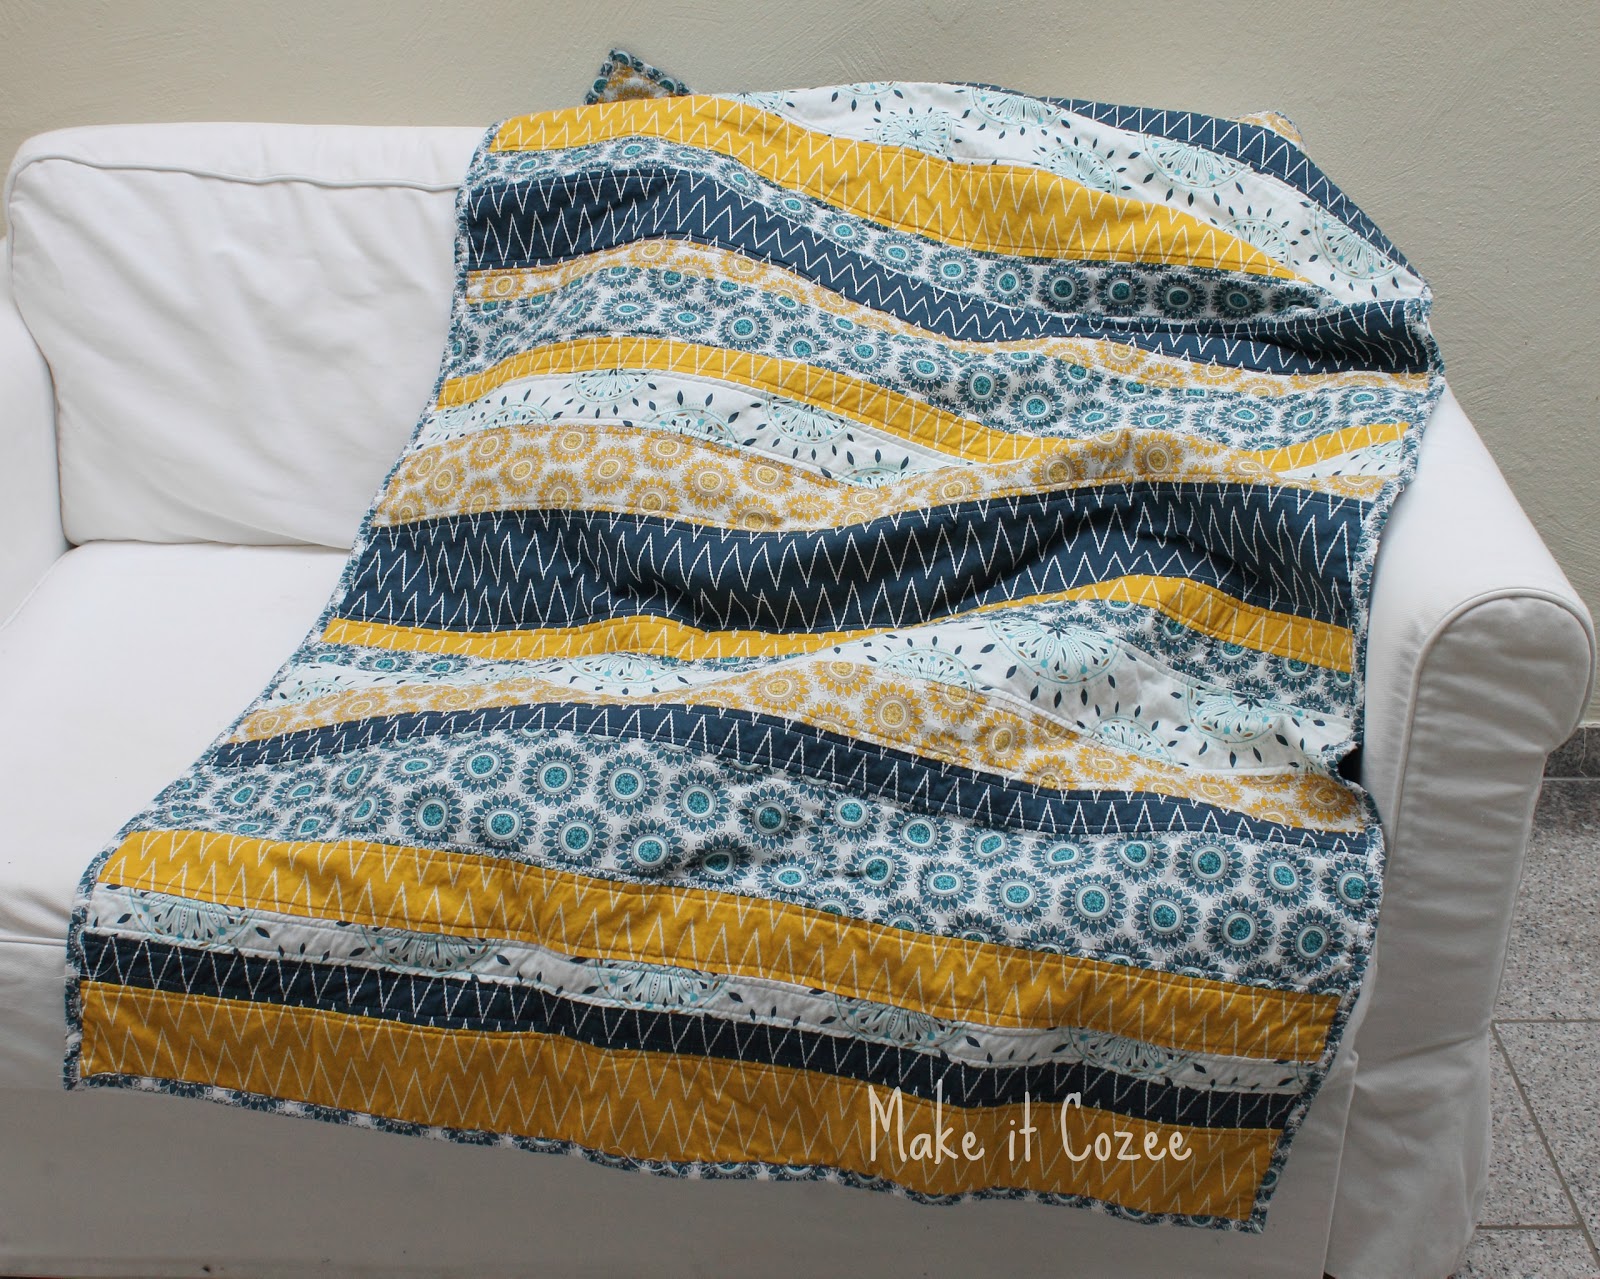
And a few hours into the late night you have a finished quilt! Isn't it so pretty?! I didn't do anything special to the back I just kept it plain with the dark blue. She plans on using it on the grass so we went with a dark color for the back.

I know I am crazy but it makes me want to make another one!


Lovely quilt - sometimes the simpler it is the nicer it is!!You will wonder why you didn't get a mat and cutter sooner when you have one - so much easier!
ReplyDeleteThanks! I agree I like things pretty simple but I also find the intricate quilts absolutely stunning. Maybe because I know I don't have the patience to do one. I wish I could go out right now and just get a mat. I'm waiting to get back stateside to use coupons at Joann's :p
DeleteThis is gorgeous! Make one for me! You should sell them on etsy. :)
ReplyDeleteThanks so much Sara! I am considering selling them. Maybe when my quilt making skills improve a little :D
DeleteThis is definitely going to be my first quilt! How long did it take you?
ReplyDelete