
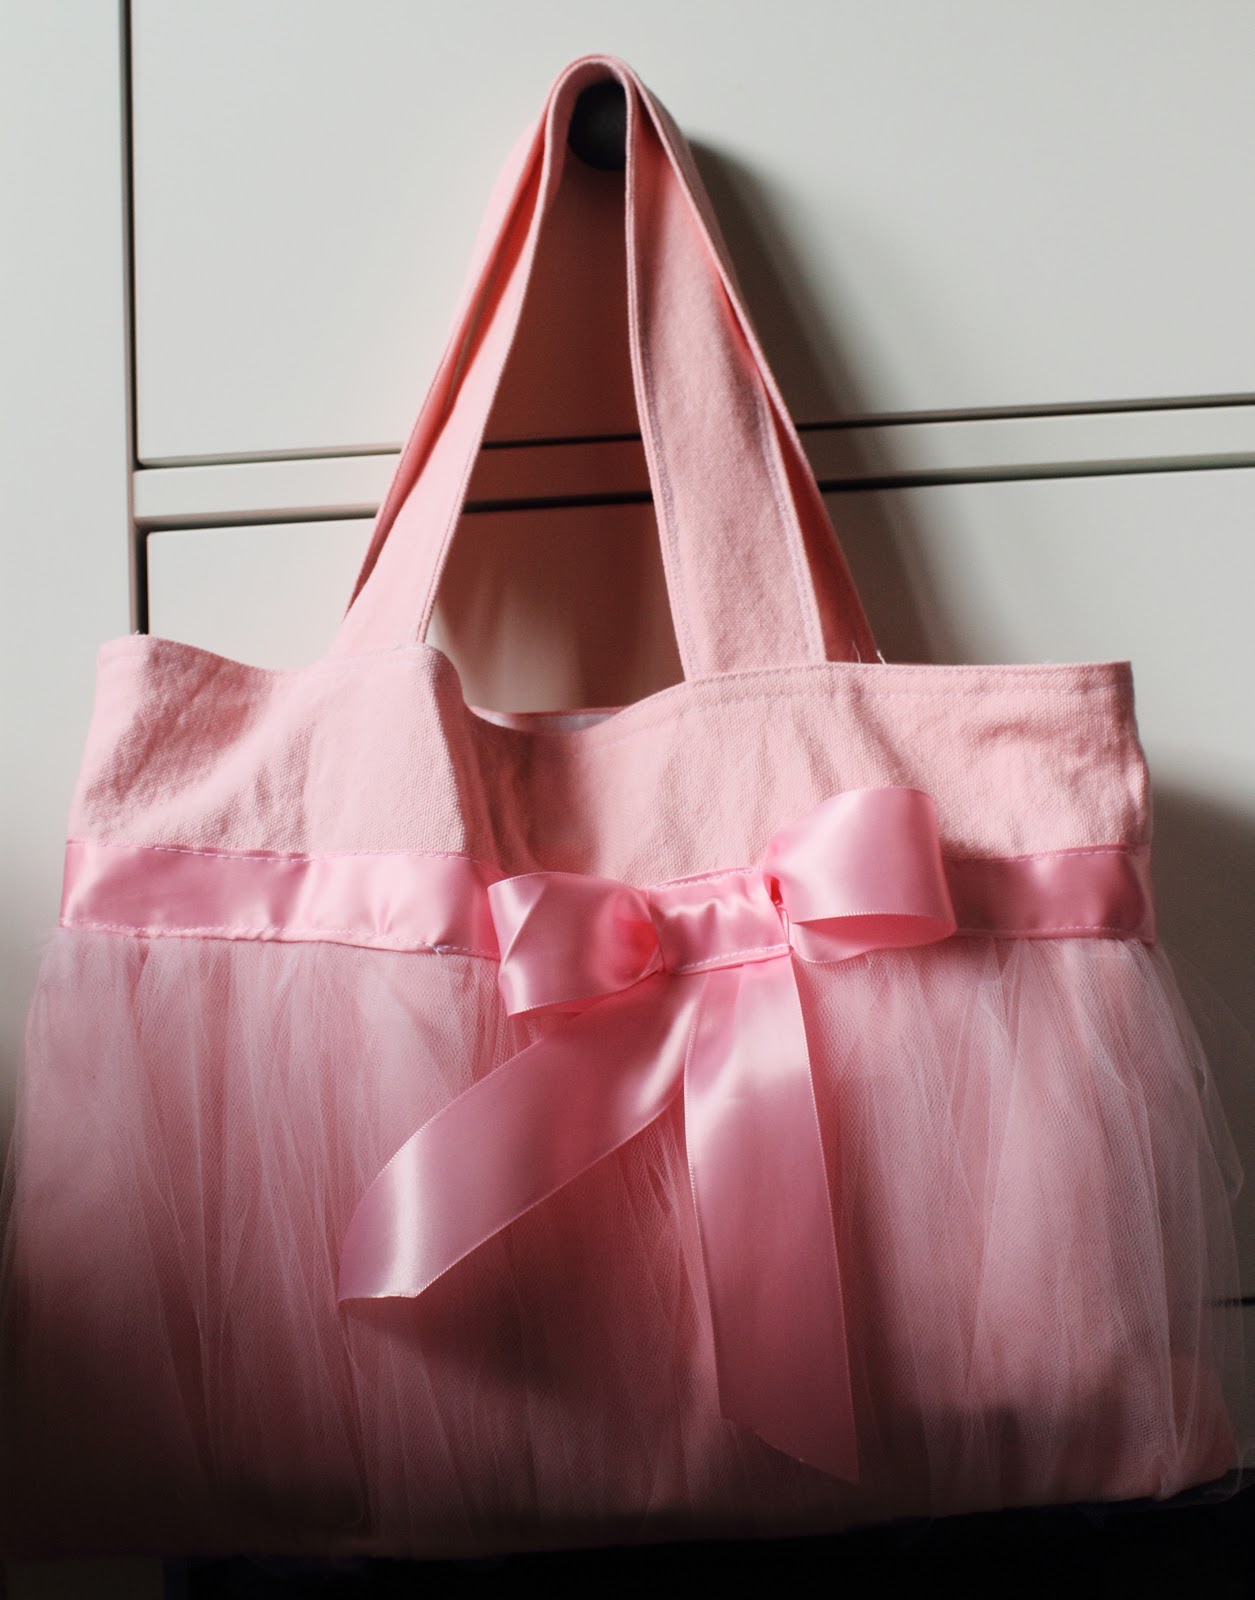
This is very long overdue. I kept putting it off and putting it off and now, we are almost to our winter recital and I haven't even posted this tutorial! Shame on me. Better late then never I guess. Please excuse my pictures, I had to finish the project at night and changed the design of the bag while I was making it. I can tell you it has been a god bag and now little miss wants to carry it even though it is as big as her! It's adorable!

You will need
canvas
lightweight interfacing [optional]
fabric for lining
fabric for pockets
and ribbon of your choice
You are going to start with four pieces. The size of the bag is really up to you. You can make it wider or longer than mine. It is just preference. Two shorter pieces for the top and two longer pieces for the bottom.

Sew down the sides of the longer pieces. Then, sew the tulle on to the top opening. You will want excess tulle to hang off the bottom portion.
Just a tip: I used THIS great tip on how to cut tulle. Then, scrunched up the tulle as I sewed it down. No need to be perfect because you can cut off the excess later.

Sew the tulle down now on the bottom end just like you did to the top [sorry no picture]. Then, flip the entire piece inside out so the tulle is on the inside and sew the bottom shut. Trim the excess tulle.

Now take the shorter ends and sew the ribbon onto the bottom portion of both pieces. You will now sew these to together down the sides.
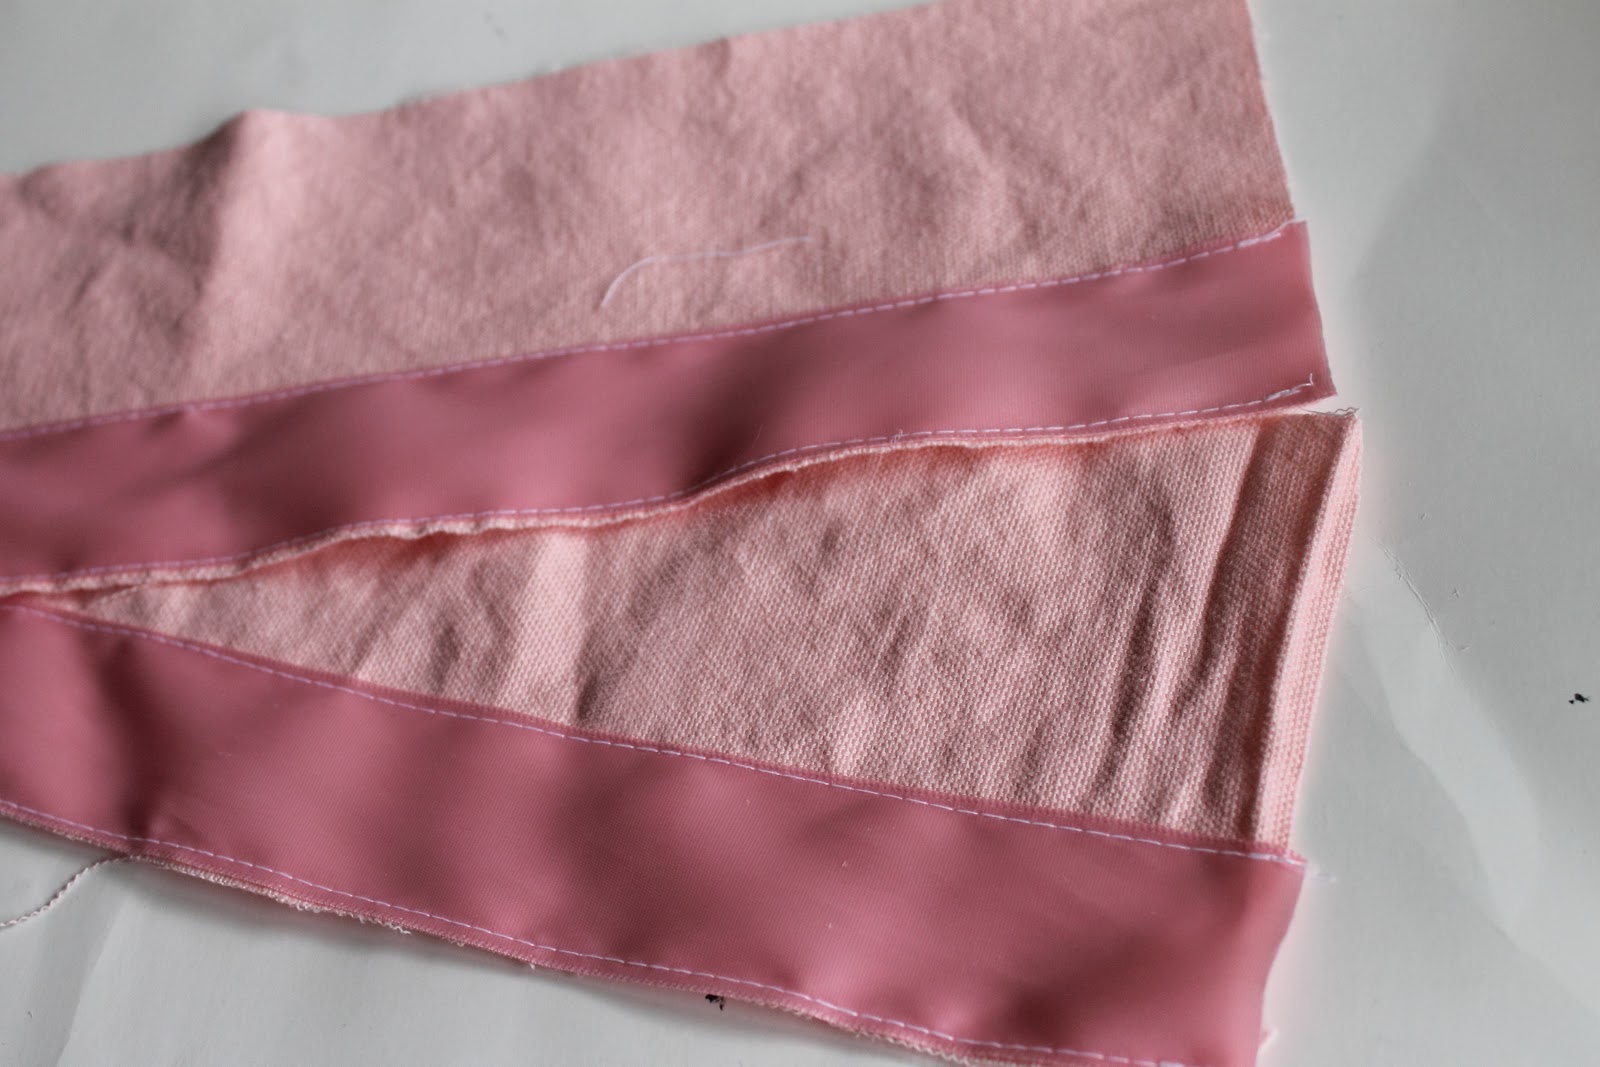
It is time to attach the top portion to the bottom portion. Make sure the end with the ribbon and the top opening are lined up. And of course that the side seams of the bag are lined up.

When it is sewn together it should look like this.

Beware, picture quality is about to go into night mode. Now onto the straps. Strap width and length is really up to you. I cut two pieces, sewed down the sides, turned them inside out, top stitched. Then attach to the bag like so.

Attaching the bow is detailed in the picture. Just a reminder to heat seal the edges of the tails so they don't fray. Typo in the third picture that I am too lazy to fix. It should say, TUCK not tug.

I sort of cheated because I didn't cut the lining pieces out until the bag was constructed. You can follow my bad example... I also sewed a lightweight interfacing to the lining to make the bag more stable but this is optional. Once you have your lining pieces its time to add the pockets. This bag has five pockets. Single slots for ballet slippers, tap shoes, and her sippy cup. Pictures of the inside of the bag are HERE.

Once you have sewn down the pockets, line up the lining right sides together, and sew all the way around leaving an opening at the bottom.

Make sure the outer bag is right side out and tuck it into the lining [which is right side together].. Now the right sides of both pieces should be facing each other. Pin and sew along the top edge. You can reference the Sewing a Lining into a Bag post for more details.

Pull the outside portion of the bag out through the hole you left and it will look like this. Sew the hole shut.

Tuck the lining back into the bag and you can top stitch the top portion if you want and TADA, A Little Ballerina Bag.


We seriously use this bag every week. The one thing I love about it, is it keeps all of her dance stuff in one place so, I just grab it and head out the door. NO weekly packing of shoes, legwarmers, extra leotards or anything like that. And it isn't in my purse!


An easy to follow tutorial, Patty and a gorgeous bag!!!
ReplyDeleteOh thats a beautiful bag!
ReplyDeleteYour bag is adorable! Thanks for the tutorial, is very well explained.
ReplyDeleteMarisa-
This is super cute! And I'm hoping to get it whipped up by tomorrow afternoon for my daughter's first dance class. Thanks for sharing this!
ReplyDeleteI blogged about your awesome tutorial and the bag I made from it...
ReplyDeletehttp://hazelandcompany.blogspot.com/2013/01/pretty-in-pink-dance-bag-with-tutorial.html#
Thanks again for posting this tutorial!
can you make them and ell them?
ReplyDeleterjulie3363@yahoo.com
ReplyDeleteThank you, this was fantastic!!
ReplyDeleteCould you possibly share your measurements for the shorter and longer pieces of canvas that you used? I'm a beginner so definitely can't eyeball what good proportions would be. Thanks for the tutorial, super cute bag!
ReplyDeleteoh how simply adorable! My little prancing princess is going to be so excited when she sees this, I better hurry up and get to sewing! Your tutorial is simple enough for a novice like me to follow and the results are adorable. I have been eager to make such a bag and refuse to purchase those mass manufactered overpriced bad quality bags. Thank you for sharing!
ReplyDeleteThis is exactly the bag I had in mind when I bought the supplies last night. Then, I went on Pinterest and found your tutorial. Thanks from a notice seamstress :) I'm excited to start on it right now.
ReplyDeletebeautiful :)
ReplyDeletebeautiful :)
ReplyDeleteWe are here to help you out with the whole procedure to Download Microsoft Office online, We not only fix your MS office setup related issues but will guide with how to get started with your new Office 2016 product once it get installed successfully. So why are you waiting for just ask whatever question you have via live chat online. visit officecom/setup More Info Call Now 1 855 869 6776 For More visit www.office.com/setup
ReplyDelete