
Last day to enter the giveaway if haven't done so already!
Exactly a week ago I told you that I would give you the tutorials for the strap cozee I made for my camera and here it is. When I set my mind to making something I google it and read through a ton of tutorials. This is inspired by the ruffled strap thanks to The Cottage Home.
However, I wanted to add a pocket so I had to tweak the measurements a little and because our teeny tiny craft store didn't have fusible fleece I had to use batting. So instead of making you go back and forth from her tutorial and mine I provided my version of the camera strap cover with lens pocket.

Be sure you read through the entire thing first before you start. Sorry I used two different prints in the tutorial hehe. All seams are 1/4 of an inch unless otherwise stated. So lets get started and cut our pieces out.
You will need
[all pieces are folded in half so double the length if you are cutting one long piece]
[all pieces are folded in half so double the length if you are cutting one long piece]
two strips of outer fabric: 3.5 in by 14 in
one strip for the back: 3.25 in by 13in
one yard of ribbon

one strip of batting: 3.25 in by 13 in
one strip of lightweight interfacting: 3.25 in by 13 in
two pieces of muslin for lining: 3.25 in by 13 in

and one rectangle for the pocket: 8in by 4in

Okay so the worst is over and let the fun begin! You want to take the two outer pieces, line up short edges, right sides together, and sew.

Press open the seam.

Now lets create the ruffle! Change the tension on your machine to it's highest setting, mine is 9.

Change your stitch length to it's highest setting. Mine is 4.

Sew without back stitching in the middle all the way down. Because the tension is high, it will create the ruffle for you.

You will want to line up the ruffles to your back side so they are the same length [sorry no picture]. You can shift the ruffles to make it longer or pull on one of the strings to make it shorter.

Set this piece aside and lets sew the pocket. Fold over the rectangle hamburger style right sides together.

Pin and sew leaving a small opening at the top.

Turn it right side out.

Don't worry about the opeing it will get sewn shut later. 

Now get the iron ready and iron down the ruffles.

Iron down the pocket.

Now sew the opening on the pocket shut. Set this piece aside and don't lose it!

Pin the ribbon onto the ruffle and sew it on. Cut off any extra.

Now get the ruffle and the interfacing.

Place the ruffle right on top and pin it down. The right side of the fabric will be facing up. Now turn it over and see that pesky fabric on the edge?

Trim it down! This will make it easier to sew the two pieces together.

Sew 1/8 of an inch down on both sides. Now the two have become one.

Do this same procedure to the outside fabric and the batting. Once it is done, place your pocket on about 2 inches from the bottom edge.

That opening you sewed shut on the pocket earlier should be facing the long side of the strap. Sew down the sides and around the bottom an 1/8 of an inch.

Now let's assemble it all together. We are going to make a sandwich. Take your muslin and lay it down.

Place your front strap piece facing up on top of it.

Then the backside of the strap facing down.

And the other muslin on top.

Here are the layers one more time.

Pin it.

Sew down. And then we are going to zigzag the edges.

Don't forget to shorten the length of your stitches.

Zigzag all the way down.

Open up the strap.

Trim the edges so they are even.

Zig Zag as close to the edge as possible on both sides.

Fold over the edge about 3/4 of an inch and pin.
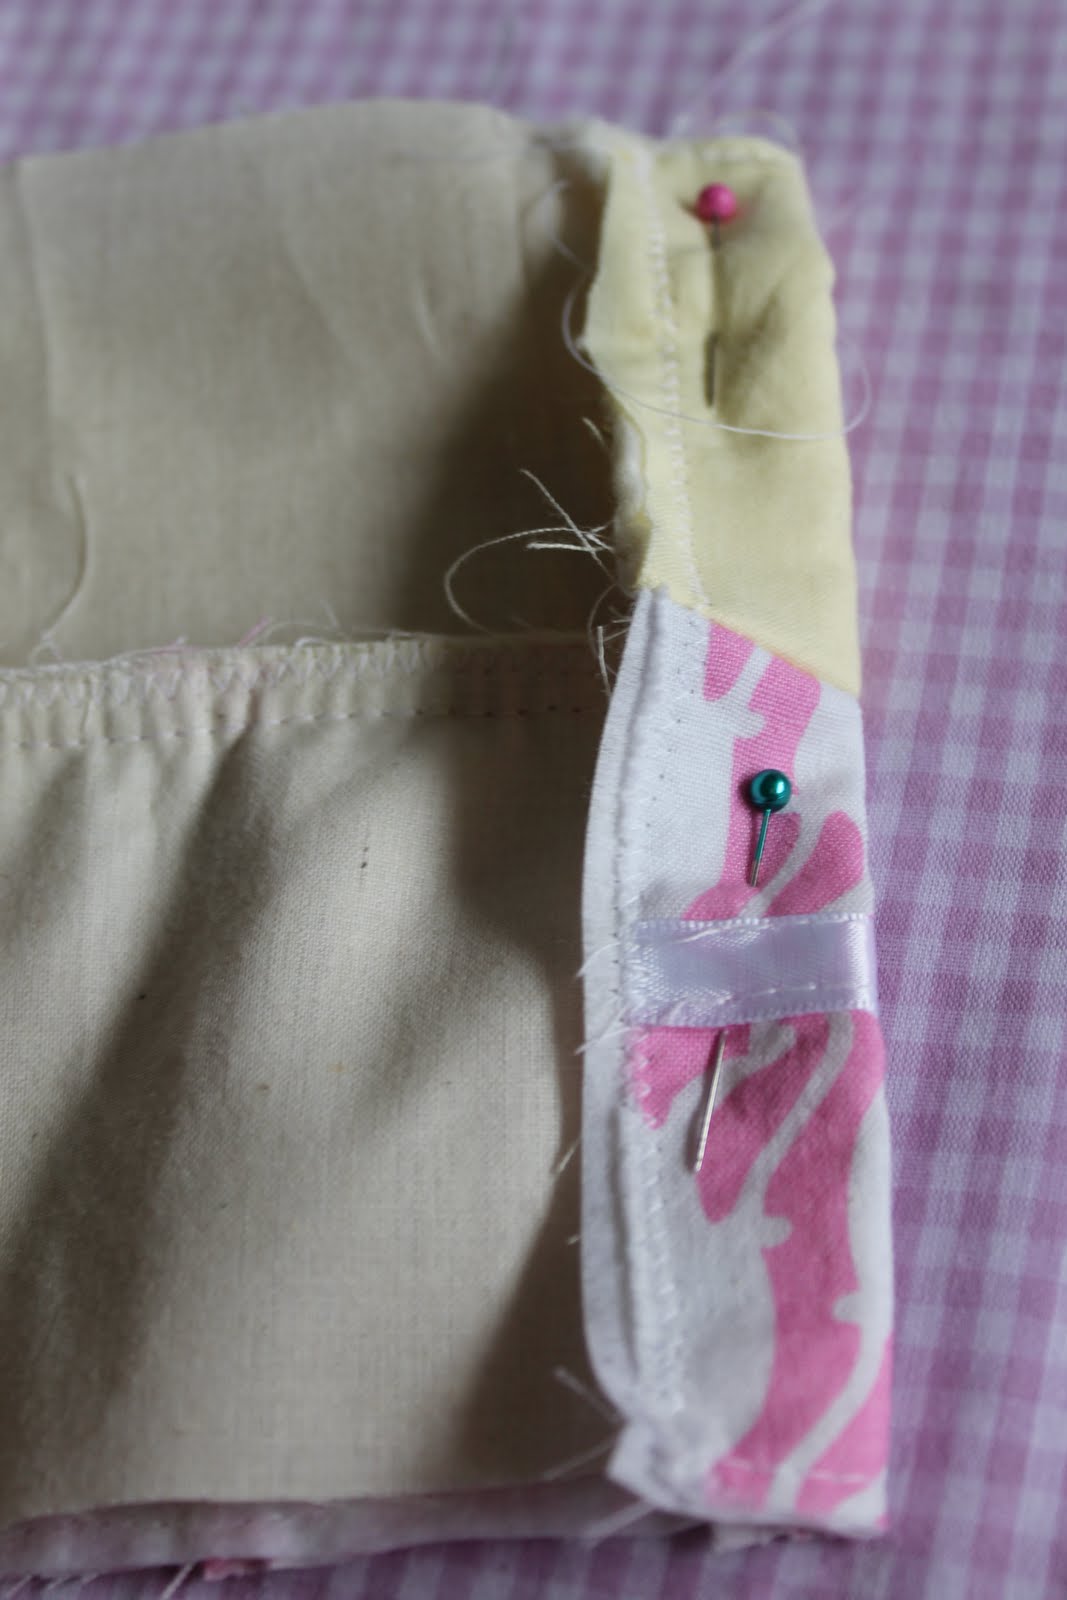
Sew down 1/2 an inch from the edge.

Turn it over and sew as close to the edge as possible. Do the same to the other side.

Okay almost done!!! Sandwich peices together again [right sides together]. Pin it.

Sew down and sigzag edges.

Now the best part, turn it right side out!

Test the pocket.

And WALA your very own camera strap cozee!!


<3 it!
ReplyDeleteAwesome tutorial Patty!
Beautiful! Thank you for sharing.
ReplyDeleteCan I ask why you put muslin inside? Was it to add more cushion?
ReplyDeleteYes I think that is why I added the muslin just for a little extra cushion.
DeleteThis is so cute! Did you actually make them 14 inches long? They tutorial at Cottage Home is 27 in.
ReplyDeleteI forgot to mention that the fabric is folded in half so it is actually 28 inches in length. I will be sure to fix that.
Delete